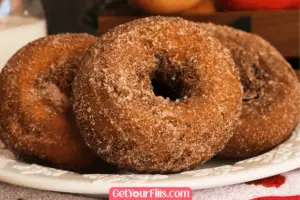
Donuts are always a hit at parties, but mini filled donuts take the experience to a whole new level. These bite-sized treats are not only adorable but also bursting with delicious fillings. Whether you’re hosting a birthday celebration, a brunch gathering, or just want to surprise your friends with a sweet treat, mini filled donuts are the way to go.
In this article, we’ll guide you through the process of making these delightful treats, from preparing the dough to filling, frying, and serving them.
So let’s dive in and discover how to make mini filled donuts that will be the star of your party!
Gathering Ingredients and Equipment
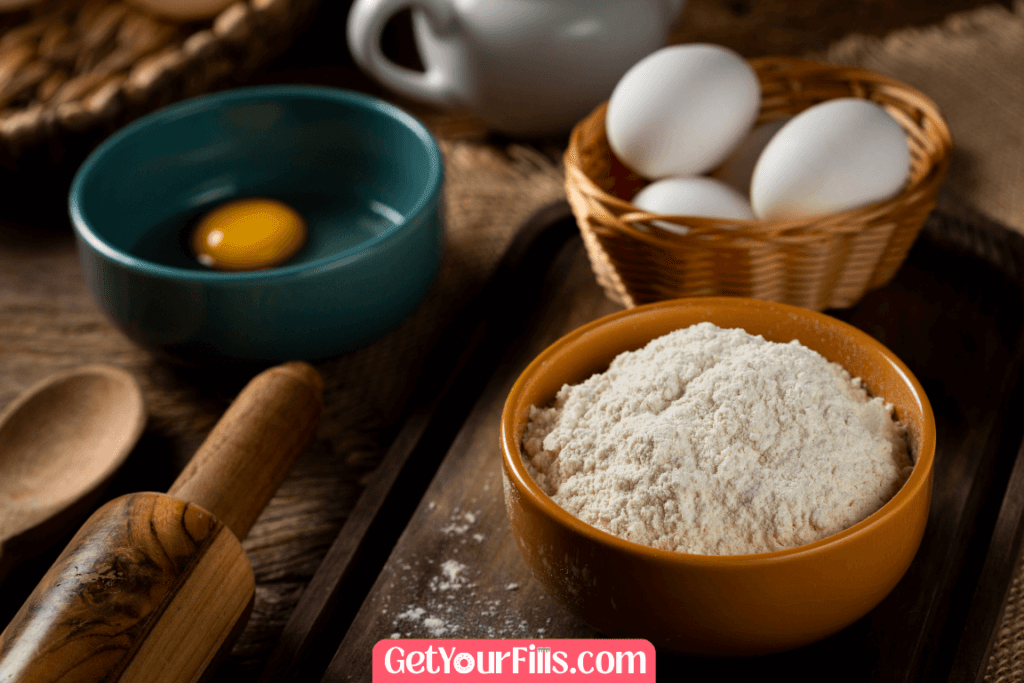
Before we embark on our mini filled donut adventure, let’s ensure we have all the necessary ingredients and equipment on hand. Here’s a list of what you’ll need:
- All-purpose flour
- Sugar
- Salt
- Yeast
- Milk
- Butter
- Eggs
- Vanilla extract
- Oil (for frying)
- Your choice of filling (chocolate, fruit jam, custard, etc.)
- Powdered sugar (for coating)
- Piping bag or ziplock bag with the corner snipped off
- Deep fryer or a deep, heavy-bottomed pot
- Candy thermometer (for monitoring the oil temperature)
Gathering everything beforehand will make the process smoother and more enjoyable
Preparing the Donut Dough
The foundation of any donut is its dough, and the same holds true for mini filled donuts. To prepare the dough, follow these steps:
- In a mixing bowl, combine the all-purpose flour, sugar, and salt. Mix well.
- Preparing the Donut Dough (continued)
- In a mixing bowl, combine the all-purpose flour, sugar, and salt. Mix well.
- In a separate bowl, dissolve the yeast in warm milk and let it sit for a few minutes until frothy.
- Add the yeast mixture, melted butter, eggs, and vanilla extract to the dry ingredients. Stir until a soft dough forms.
- Transfer the dough to a lightly floured surface and knead it for about 5-7 minutes until it becomes smooth and elastic.
- Shape the dough into a ball and place it in a greased bowl. Cover the bowl with a clean kitchen towel or plastic wrap.
- Allow the dough to rise in a warm, draft-free area for approximately 1-2 hours, or until it doubles in size. This step is crucial for achieving light and fluffy donuts.
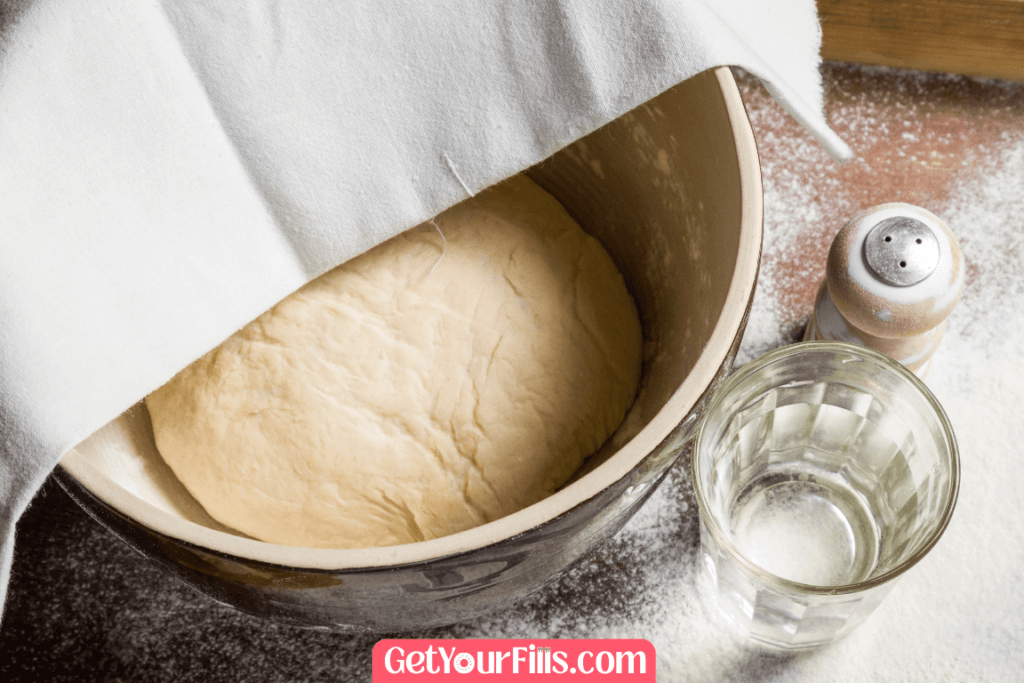
Letting the Dough Rise
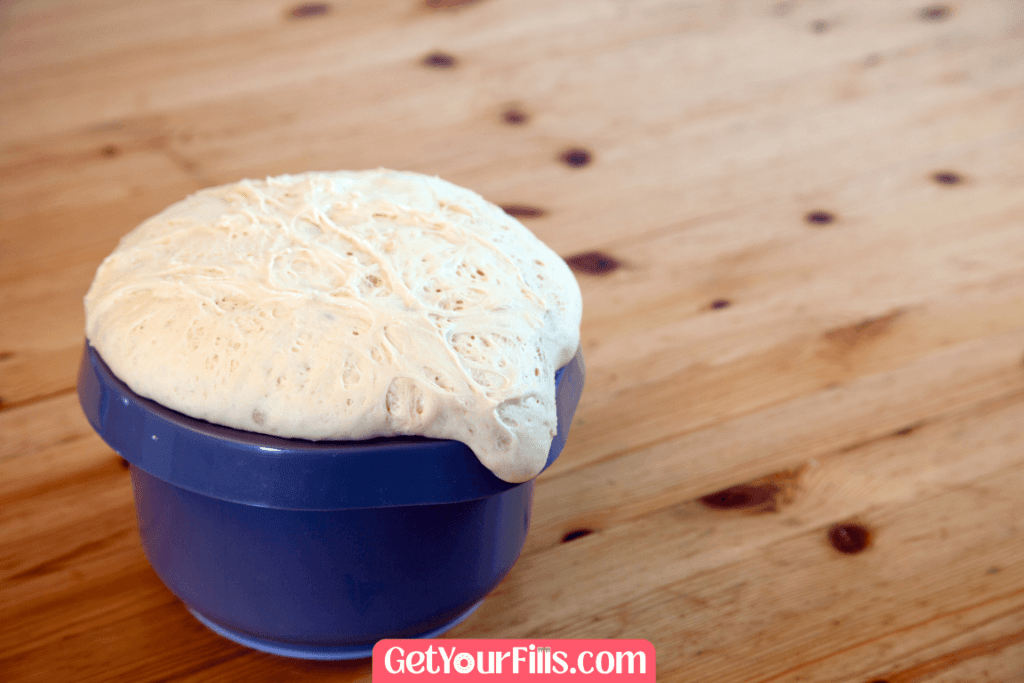
Now that your dough is prepared, it’s time to let it rise. This step is essential for developing the donuts’ texture and flavor. Here’s what you need to do:
- Leave the dough in the bowl and cover it with a clean kitchen towel or plastic wrap.
- Find a warm spot in your kitchen that is free from drafts. This can be near a window on a sunny day or on top of a turned-off oven.
- Allow the dough to rise undisturbed for approximately 1-2 hours, or until it has doubled in size.
- During this time, the yeast will be activated, causing the dough to become light and airy.
Shaping and Filling the Donuts
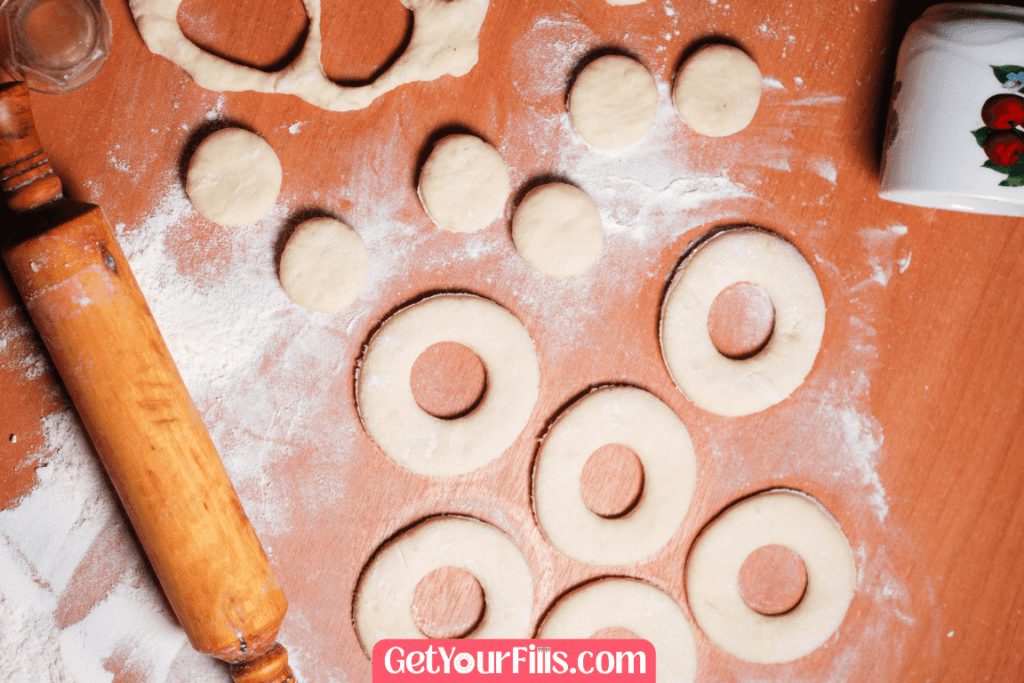
Once the dough has risen, it’s time to shape and fill your mini donuts. Follow these steps to create these delightful treats:
- Gently punch down the dough to release any air bubbles.
- Transfer the dough to a floured surface and roll it out to a thickness of about 1/4 inch.
- Use a round cookie cutter or a small glass to cut out circles from the dough.
- Place a small amount of your chosen filling in the center of each circle. Be careful not to overfill, as it may leak during frying.
- Fold the dough in half, enclosing the filling, and pinch the edges to seal. Ensure there are no gaps where the filling can escape.
- Place the filled donuts on a baking sheet lined with parchment paper. Leave enough space between them to allow for expansion during frying.
Frying the Donuts

Frying is the key to achieving golden, crispy mini filled donuts. Follow these guidelines for perfect results:
- Fill a deep fryer or a deep, heavy-bottomed pot with enough oil to submerge the donuts. Heat the oil to 350°F (175°C).
- Carefully place a few donuts into the hot oil, being cautious not to overcrowd the pot.
- Fry the donuts for about 2-3 minutes per side, or until they turn golden brown.
- Use a slotted spoon or tongs to remove the donuts from the oil and transfer them to a paper towel-lined plate to drain excess oil.
- Repeat the frying process with the remaining donuts, ensuring the oil temperature remains consistent throughout.
Read Also: Top 5 Fryer Donuts
Coating the Donuts

Once your mini filled donuts are fried and beautifully golden, it’s time to add some delicious coatings. Consider the following ideas:
- Powdered Sugar: Place some powdered sugar in a shallow bowl and gently roll each donut in it until fully coated.
- Cinnamon Sugar: Combine granulated sugar and ground cinnamon in a bowl. Roll the donuts in this mixture to add a delightful cinnamon flavor.
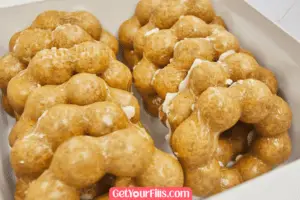
- Glaze: Prepare a simple glaze by combining powdered sugar, milk, and vanilla extract. Dip each donut into the glaze, allowing the excess to drip off.
- Chocolate Ganache: Melt chocolate chips or chopped chocolate in a microwave or over a double boiler. Dip the donuts into the melted chocolate, letting any excess drip off.
- Sprinkles: After coating the donuts with any of the above options, sprinkle them with colorful sprinkles for a fun and festive touch.
Feel free to mix and match these coating options or even create your own unique combinations!
Serving and Storing

Now that your mini filled donuts are ready, it’s time to serve them and enjoy their deliciousness. Here are some suggestions for presentation and storage:
- Serve the donuts on a platter or a tiered dessert stand for an eye-catching display.
- Accompany the donuts with a variety of dipping sauces, such as caramel, chocolate, or fruit coulis, for an extra burst of flavor.
- If not serving immediately, store the donuts in an airtight container at room temperature for up to 1-2 days. However, they are best enjoyed fresh.
9. Conclusion
Making mini filled donuts for a party is a delightful way to impress your guests and indulge in delectable treats. With a bit of preparation and creativity, you can create an array of flavors and coatings that will leave everyone craving more. From the process of preparing the dough, filling the donuts, frying them to perfection, and coating them with deliciousness, every step is an opportunity to unleash your culinary skills. So go ahead, embrace the joy of making mini filled donuts, and watch your guests’ faces light up with delight.
FAQs
What are some popular filling options for mini donuts?
Some popular filling options include chocolate ganache, fruit jam, cream cheese, Nutella, and vanilla custard.
Can I bake the mini donuts instead of frying them?
While frying is the traditional method, you can experiment with baking the donuts. However, note that the texture and taste may differ slightly.
How far in advance can I prepare the dough?
You can prepare the dough a day in advance and let it rise in the refrigerator overnight. Just make sure to bring it to room temperature before shaping and frying.
Can I make the donut dough ahead of time and fry them later?
Yes, you can refrigerate